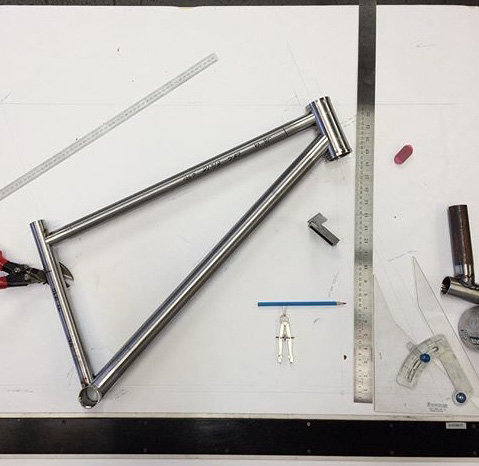
I built a titanium dirt jumper a few years ago and I’m stoked about it. [And if you’re anything like me, yes, a ti DJ is as sick as it sounds.] However, in medium to heavy wind conditions, it feels almost too light in the air and a little sketchy. So why not build a steel (heavier) version! In one of the more recent classes, I had the chance to.
The geometry of a dirt jumper is a little unique and can be very personal. The design process isn’t like a road bike or cross country mountain bike, where the frame geometry can be directly produced from the riders physical measurements. Usually, a rider tries an existing bike, makes some adjustments in the cockpit (via stem length, bar width, headset spacers, etc.) and gets comfortable on the bike. I had the opportunity to ride a few different DJ’s (Santa Cruz, Yeti, Haro) before building my titanium frame, and subsequently decided on the geometry based on the feel of these experiences. I really liked the result so the steel frame was designed around the same geometry as my ti frame.

As for tube selection, copying the titanium frame wasn’t an option. When it comes to inherent material characteristics, titanium and steel are different. [If interested in tube dimension vs performance characteristics, stay tuned we’ll cover in a later newsletter…] I chose a 38mm (1.5”) down tube, and a 28.6mm (1.125”) top and seat tube. I like the aesthetic of large down tubes and smaller top tubes. The chainstays I chose, are monsters! I’m not sure what the tube designers had in mind when they designed them but the ovals are nearly as tall as the bottom bracket diameter; perfect for a DJ like this! I completed the frame tubes with 19mm (.75”) seat stays (mitered to the top tube to provide better tire clearance and shorter chain stays), a 73mm ISO threaded bottom bracket (for the mountain crankset I was going to put on it), an ISO disc tab, horizontal dropouts and 44mm head tube, both from Paragon Machine Works. The braze-ons were stainless steel, stamped saddles (my personal favorite) for anchoring the hydraulic brake line.
Painting isn’t part of our normal frame building course but I had been kicking around an idea involving tool dip that I wanted to try on the new frame. After frame prep, I purchased a paint / primer from the local hardware store in my favorite color(Blue!!) as well as a can of black tool dip. I prepped the frame for primer and went to work… up wind. Then, after allowing the baby blue frame to dry, I carefully cut out a few UBI emblems from our stickers and applied to the frame and tool dipped the entire frame. The result is a baby blue highlighted, black tool-dipped frame. A little heavy but light weight wasn’t the goal of the build, so it’s perfect. I’m stoked!


